Pages

Wednesday, March 31, 2010

Flirty Aprons Review

Feminine, Fun & Full of Fashion!


Our Women’s Aprons are perfect to help today’s woman accomplish her daily activities while keeping her clothes clean, maintaining her style, and feeling beautiful. Women everywhere are reviving their style in the home and our high-fashion and vintage apron designs are helping women along the way. Whether you love our classic, sexy aprons in pink or our floral patterned feminine aprons we know you’ll find something you love.

I got this cute, stylish apron thanks to Flirty Aprons. This is one of the cutest aprons I have seen in a long time. It is very comfortable and stylish too! I love it! I got my “Sassy Black”apron just in time for the Thanksgiving holiday. Every year I bake bread and every year, I get very messy. Making bread from scratch can get dirty. With my Flirty Apron, I was clean from start to finish. And with its 2 pockets in front, I was able to keep my phone and lip gloss right at hand. My mom and other family members absolutely loved my apron and wanted to know where I got it. They loved the design and style. A great gift for yourself or a friend! I love my Flirty Apron!

Things that I love...
  • Many uses ~ cooking, cleaning, gardening, crafting and more!
  • Fashionable ~ many trendy patterns, ruffles, long straps for cute bow tying.
  • Functional ~ keeps you clean during many tasks.
  • Matching ~ get matching aprons for you and your children
  • Men ~ great aprons for the man in your life.
Other great products by Flirty Aprons...

Children’s Aprons ~ Cute kids aprons. Perfect matching mother & Child apron sets. Little girls who like to cook with mom, play dress-up, do crafts, or just clean up around the house will love doing their little kid duties in this darling children’s apron. Everyone kid needs a children’s apron to keep their clothes looking great, and that especially includes all those little girls out there. Trendy fabrics and fun designs will make every girl feel special.

Men’s Aprons ~ Original, Sizzing & Sexy Aprons for Men. Men who like to grill, deep fry, or hickory smoke anything will love these high quality men’s aprons. From “Hotter Grills” to “Making Things Sizzle”, any guy will be able to find an apron that matches his personality. These are not only funny aprons, but they have a sturdy construction and three strong pockets that make these quality men’s aprons a new favorite.


The featured product {s} in this post were provided to me free of charge by the manufacturer or pr company representing the company. All opinions expressed in this review are my own and not influenced in any way by anyone. Trendy Treehouse Disclaimer/Terms of use.

Tuesday, March 30, 2010

Victoria Cave, King's Scar

side rift entrance to Victoria Cave, Attermire

Victoria Cave was originally a small opening in King's Scar known as the Fox Holes. In 1837 Michael Horner followed a dog through the opening and discovered a series of chambers. The artefacts discovered inside let to a full scale excavation, enlarging the entrance to it's present size.

Victoria Cave near Langcliffe

The excavation revealed the story of the cave through the ages. 120000 years ago the cave had been a hyena den. Towards the end of the last ice age the cave was a place of refuge for hunter-gatherers and in Romano-British times the cave was used as a shrine.

CaveMaps.org has a detailed map of Victoria Cave. :-)

♥ On a Personal Note ♥

Hi Everyone, Just wanted to share with you all some fun stuff we did this past weekend. It was opening day Saturday for my sons Little League team. He is on the Cardinals this year. He looks good in RED. LOL Oh and he is NUMBER 13 again. 3 years in a row. That was my number and he has been just lucky in getting. I am amazed. It must still be our lucky number. 


This next picture is "The Little League Pledge" I took a picture of it because I loved how it looked on that old wood. Plus, secretly, I would love to make one of these for his room. Maybe that will be an upcoming project. LOL


Quick Team Shot - I wasn't able to go back there with my camera, so this is a good as it gets. And it was sunny with no special lighting. The shadows will have to do! Hee! Hee!


This is them right after the photo. They are getting ready to go play the Cubs.


And I have to share with you, they had an awesome game. Technically it was not a true game, just opening game play. But our team won 9-2. Woo! Hoo! Then last night we officially played the Cubs last night and won 16-1. Wow! I really love our coaches. They are teaching the kids technique and that is key to why we are doing so well. I am thrilled and can't wait for the next game tomorrow night.

K, off to volunteer in 1st grade. Hope you all have a great day. See you tomorrow. Oh and if you child is playing b-ball too, please share. I would love to cheer for them.


"Making Time For Motherhood"

MckMama will be appearing in a webcast for Focus on the Family at the end of the week.

March 31, 2010: Making Time for Motherhood

Guests: Jill Savage; Jennifer "MckMama" McKinney; Tammy Maltby; Toby Mac

2:00 - 3:00 p.m. (EDT)

Our first guest is author, speaker, wife, mother of five and the founder and CEO ofHearts at Home – Jill Savage – who encourages, educates and equips moms of all ages and stages of motherhood.

We'll also be joined by one of the most popular "Mom Bloggers" on the Internet, Jennifer "MckMama" McKinney, who will share a little about her life and the importance of community. We'll have a special Easter idea from Tammy Maltby, a compelling Bible teacher and media personality with a heart for helping "real" Christian women live richly and fully in the real world. Plus, we'll hear from Christian contemporary music artist, Toby Mac!


Considering she has spent 32 out of 54 days so far this year away from her children, the irony behind the title "Making Time for Motherhood" isn't lost on me.

Chicken Salad Sandwich Recipe


Running a bit busy one day, I decided to pick up some Chicken Salad at the Grocery store. I love the traditional Chicken Salad. I love sprouts. I love Pecans. And I love Croissants. LOL. So I combined them all for a delicious lunch. I wanted to share the recipe with you. Hope you like it. No LOVE it!

What you will need....
  • Chicken Salad ~ homemade or store bought. The one I get has roasted chicken, celery, red onion and mayo. There may be more, but that is what I see. LOl
  • Chopped Pecans
  • Fresh Sprouts
  • Croissant ~ Cut in half ~ you can even use a Ciabatta Roll. Those are a great choice too!
How to make it....
  • Take your Croissant and put a nice portion of Chicken salad on the bottom half. Add a bit of sprouts and a nice handful of pecans. Top it with the rest of the Croissant and you are ready for a little bit of heaven. LOL 
That's about it for this great sandwich. A simple recipe for a great thing.

Sunday, March 28, 2010

✻ Guest Blogger ✻

It's time for another great "Guest Blogger" This week we have Stephanie from Under the Table & Dreaming. And I am excited to share with you her sons amazing "Play Room"

UndertheTableandDreaming


Hi there! I’m Stephanie Lynn from Under the Table and Dreaming. I’m thrilled to be hanging out in the Trendy Treehouse today. I am a blessed mommy to one precious little boy and married to one of the greatest guys ever {who also happens to be my best friend}.

I started my blog to share a little piece of my world as a mommy, which I consider to be the most important job ever. I love to craft, decorate, create, and cook; plus everything else ‘us’ mommies do in-between to make our house a home.

Come see what else I’ve been up to over at Under the Table and Dreaming. I have lots more to share and hope you’ll stop by and visit.

~ A Playroom with Room to Play and Space to Grow ~


I had two major goals when creating our little guys playroom; a functional room for him to play & learn and a versatile space that could easily grow with the ever changing needs {and wants} of a three year old toddler. We choose a room located on our first floor main living level to transform into this magical space. Since the area can be visually seen by visiting guests {and me, everyday} I had a two items that topped my priority list when planning the space; 1. A neutral & natural decor to somewhat blend in with the rest of our home and not particularly scream playroom and 2. Lots and lots of hidden storage.


It took awhile to find all the right elements to bring the room together but I could not be any more happier with the outcome {and our little guy loves having a space all to himself as well} I feel the priorities were met without compromising the fun feel a playroom should have and a space that captures the personality of my little guy. Would you like to see what we have been up to?


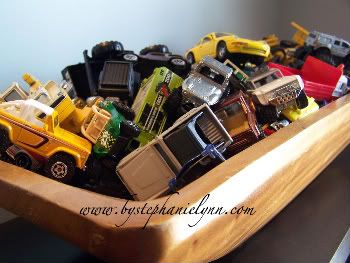
I love the addition of unique pieces as storage options. This 27 inch wooden dough bowl was found at a local antiques mall and is the perfect home for matchbox cars and trucks.


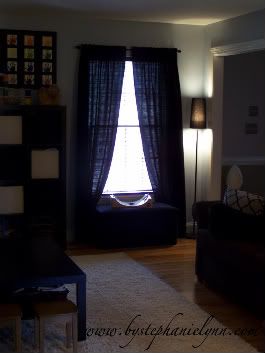
The room has two windows which are dressed with black long panels and wooden mahogany blinds. Under each window sits two wooden toy chests that I covered with batting and velour fabric. They provide additional hidden storage which is a necessity in any toy filled household.
Between the two windows sits an eight cubby storage unit filled with cream and espresso canvas totes; More hidden storage...have I told you how much I love hidden storage.


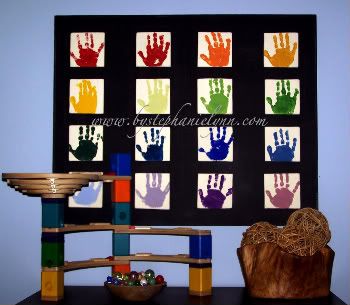
The handmade art above the cubby is a rainbow of the little guys handprints. {You can find my tutorial here} It's a great color learning piece. On top sits a wooden marble run which is just too cool not to display. Burl wooden bowls are another one of my favorite decor accessories ~ I simply can not pass these up any time I spot them.


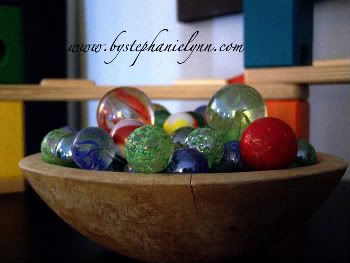
A vintage wooden munising bowl showcases the colorful marbles for the marble run.


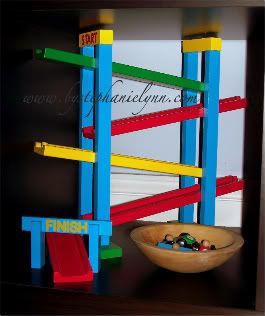
The bottom two cubbies were left open for a couple easy reach toys like this wooden car ramp. Another munising bowl was used to hold the cars.


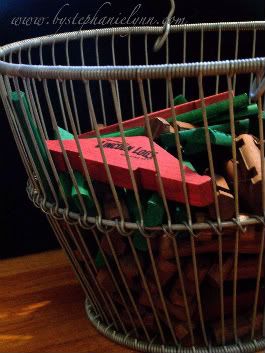
The second open cubby holds a vintage wire egg basket filled with Lincoln Logs.


Centered in the room is a cream 10X13 shag rug to provide some tiny toe comfort and accent the wooden floors.


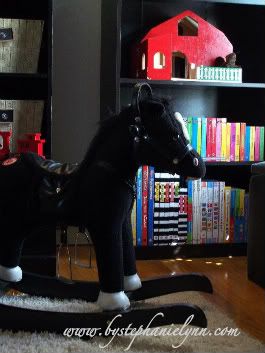
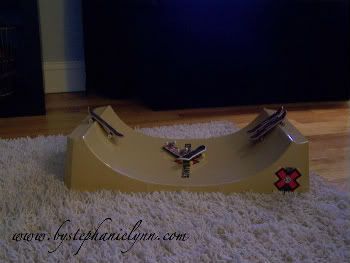
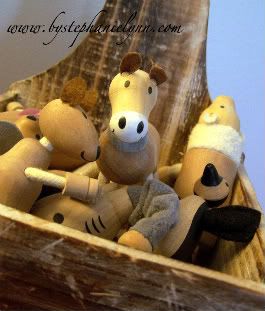
Even some toys themselves provide excellent storage options.


Comfortable seating was another one of my must haves in this space. This espresso twill couch is a great snuggle and read spot. Two paper shade pendant lights hanging in the corner create perfect wind down ambiance at the end of the day.


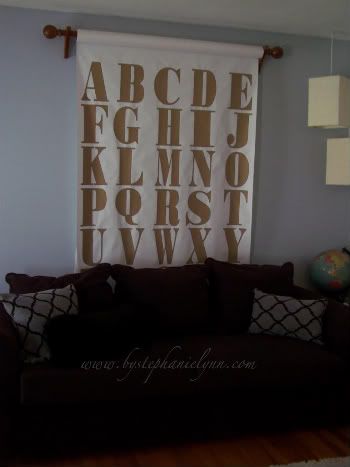
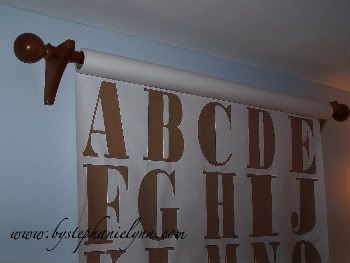
Above the couch is an oversized paper roll and wooden holder found at Pottery Barn Kids last year. Since we are working on the alphabet now, I printed and cut out 8X10 letters on brown kraft paper and simply attached them to the roll with a glue stick. It's perfect for filling up the large wall as well as creating a focal point.


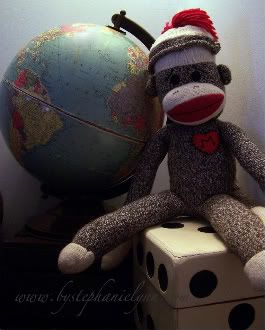
What playroom isn't complete without a vintage sock monkey...


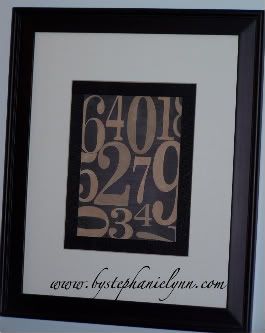
More handmade wall art - This creation was inspired by PB and is a very easy and low cost project {find more details and my how-to on this post}


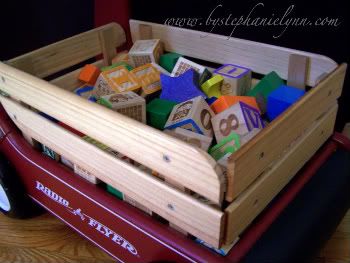
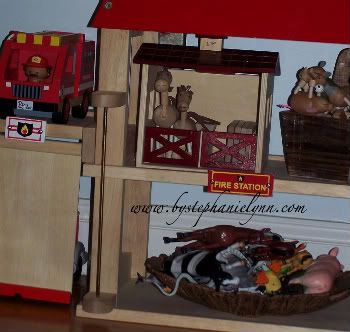
Utilizing more toys as storage...


A vintage wall box with a lollipop hanger creates additional fun storage.


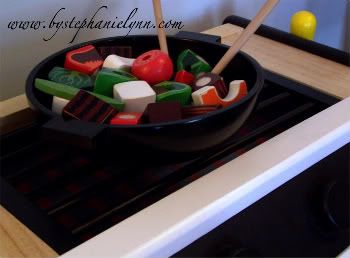
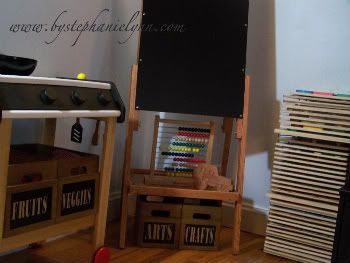
As much as I would have loved to have a full play kitchen in this room the space just did not allow; so I opted for a more manly wooden grill for my little guy. The colors were a little too bright for the space, but nothing a little custom paint job couldn’t cure.


The wooden crate boxes under the grill and easel provide yet more hidden storage. I printed out the labels using the same font and paper as the paper roll alphabet and glued them to the front. Stacked wire puzzle racks provide an organized display for the wooden puzzles.


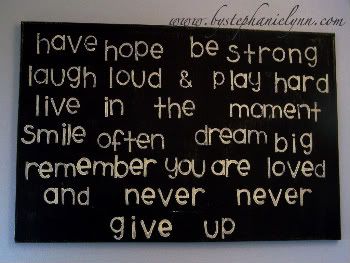
More 'diy' canvas wall art ~ our own live-by wishes for the little guy. {You can find more details and instructions on this previous post}


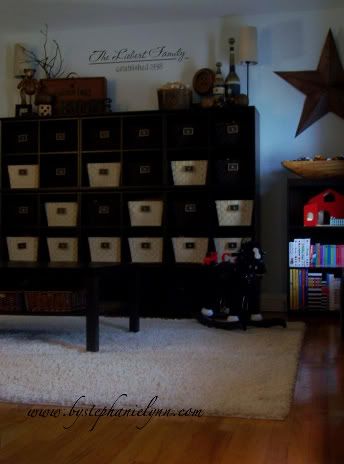
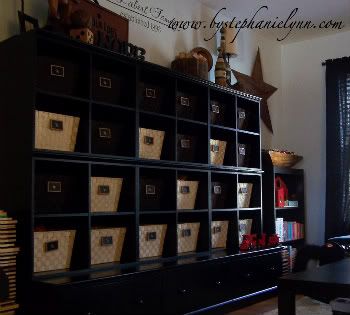
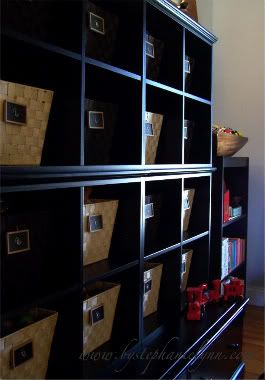
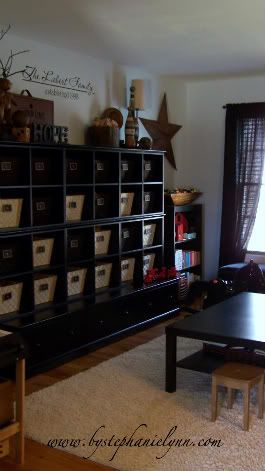
Because this room is visible on our main living level, hidden storage was a must. This cubby and drawer wall unit combo is the perfect solution for neatly concealing everything a three year old could possibly dream of.


A combination of espresso and vanilla woven baskets fill each cubby and we have managed to pack them all full of goodies.


A chalkboard tag hangs from each basket and {because I am too conscious of my own handwriting} I printed out the alphabet with a typewriter key font to label each one.


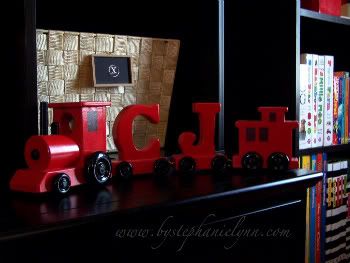
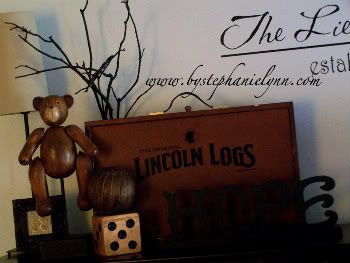
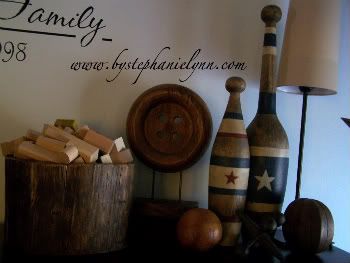
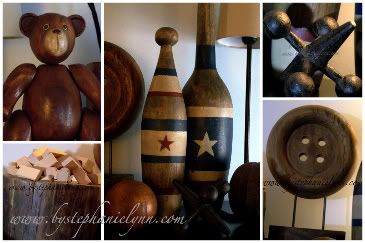
Extra space on top provides a perfect area to display some rustic, vintage inspired favorites.


I have a love for all things oversized, unique, and unusual.


I am always on the lookout for these and have a hard time passing them up.


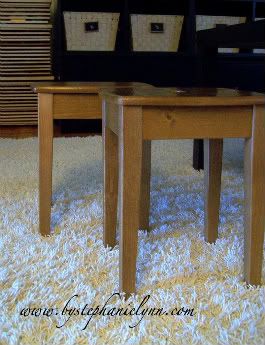
The activity table in the center of the room is used for just about everything under the sun. It provides a great work space for my sons therapies {as well as arts & crafts, trains, cars, you name it}


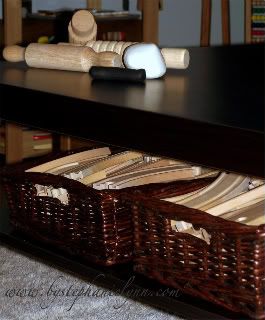
The lower shelf stores easy to reach train tracks, rails and cars.


And you can't forget something for their cute little bums...


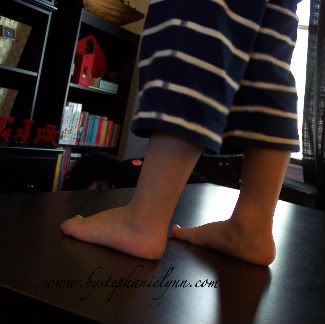
...though my little guy prefers to stand {on top the table at that}
I can officially say we have one room that is completely finished without any to-do's...except to have fun! Enjoy!


Thanks Stephanie !!!

If you are interested in being a GUEST BLOGGER please let us know by filling out our CONTACT form. Please include the post you would like to use.

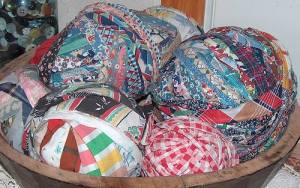
Rag Crafting

Back when I was in 4-H, in our craft class, we made long balls of rag material then sewed them together to make rugs, coasters, bowls, picture frames, ect. It was so fun. I made them for gifts at Christmas and everyone loved them. I thought I would share how I made them. I am sure a lot of you remember making these too, so please share your ideas and photos if you have them.


What you will need....
  • Fabric scissors
  • Some scrap fabric (you will want to choose a pattern too. Like a color pattern with 3-4 different colors or fabric of one color)
  • Needle and Thread
  • Embellishments (this is for making things like a picture frame. To add character to your frame)
How to make these....
  1. First you will want to cut your fabric into strips usually about 3 inches wide. Determine your length by the type of project you will want to make and just be creative. Obviously you will want a long amount of fabric for larger projects.
  2. Take 3 pieces of fabric and tie a knot at one end.
  3. Braid until you reach the end and knot again or if you need a longer braid, just add in more fabric by knotting them at the end and continue braiding.
  4. Now you are ready to use the needle and thread to make your projects
  • Coasters.... Take your braided fabric and sew with your needle and thread. Shape it into a circle or square. You can even make these larger for a pot holder or hot plate. Great project for kids to make as gifts. Just make sure Mom or Dad helps with the needle and thread.
  • Picture Frames.... Make this the same way you would the coaster, but add in some embellishments to the corder of the frame for looks. To hold a picture, I have used many things but love to use buttons. You can glue them in the corners, at the right distance to hold the size photo you would like to frame.
  • Bowls.... just start with a small circle, sew with your needle and thread. Then slowly sew and shape the bowl moving up with each row until you make your desired size bowl. These are cute for kids rooms or craft notions.
  • Rugs....  cut your fabric in long strips, tie them together with knots and make as long as you can. You can always add more if you need more.  Or you can take braided fabric and bind together with a needle and thread. When you reach the end of one braid, just sew in the next and keep going until you reach the desired size. A good tip for making a rug: you can also use a large crochet needle to crochet your fabric into a rug.
These are super cute for gifts or just to keep all to yourself. There are so many color options and shape options for this kind of project. The bet part is just to think and be creative with each piece. Have Fun!

Search This Blog

Blog Archive

Followers